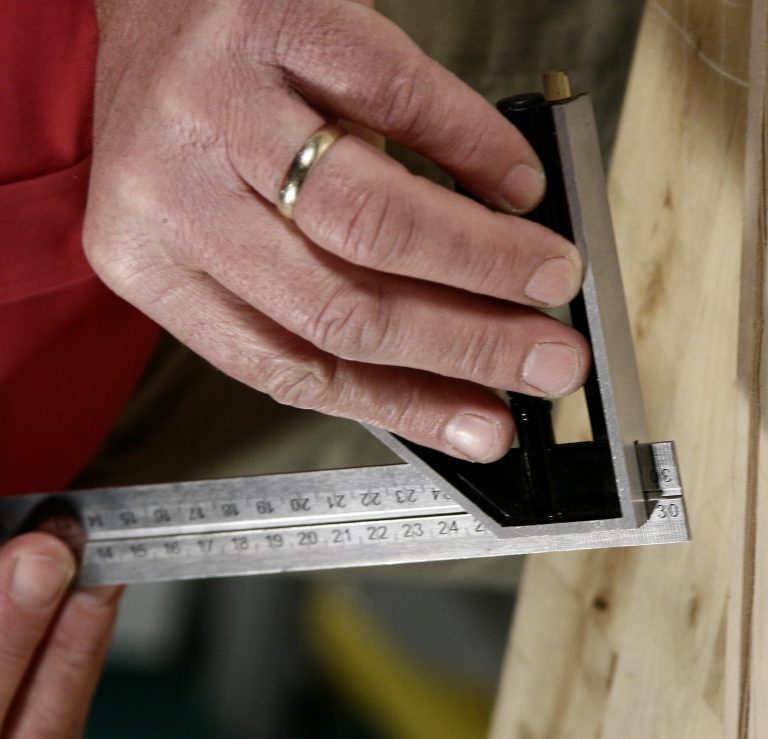
Step 1 The basics
A combination square includes a ruler with attachments that slide off and on. You can interchange attachments and tighten them down to use the square as a template for measurements and angle markings. For example, use it to mark right angles and check the accuracy of a saw cut.
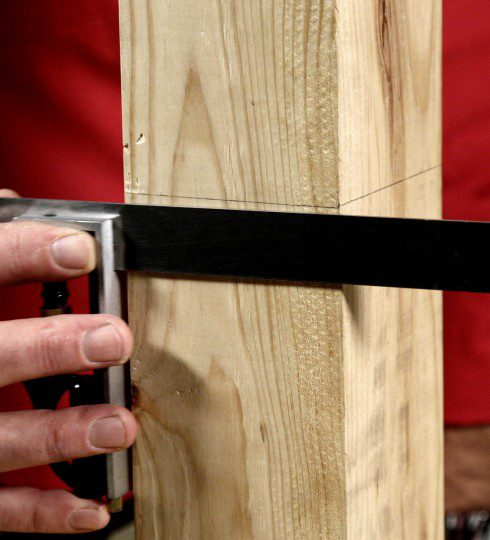
Step 2 90 Degree Angle Edge - Tip 2
Mark continuous lines around 4 sides of a board or post,
Step 3 90 Degree Angle Edge - Tip 3
Use it as a depth gauge for measuring the depth of a groove.

Step 4 90 Degree Angle Edge - Tip 4
This edge is a handy way to set the depth of a router bit. It’s also great for recalibrating a table saw or miter saw blade.
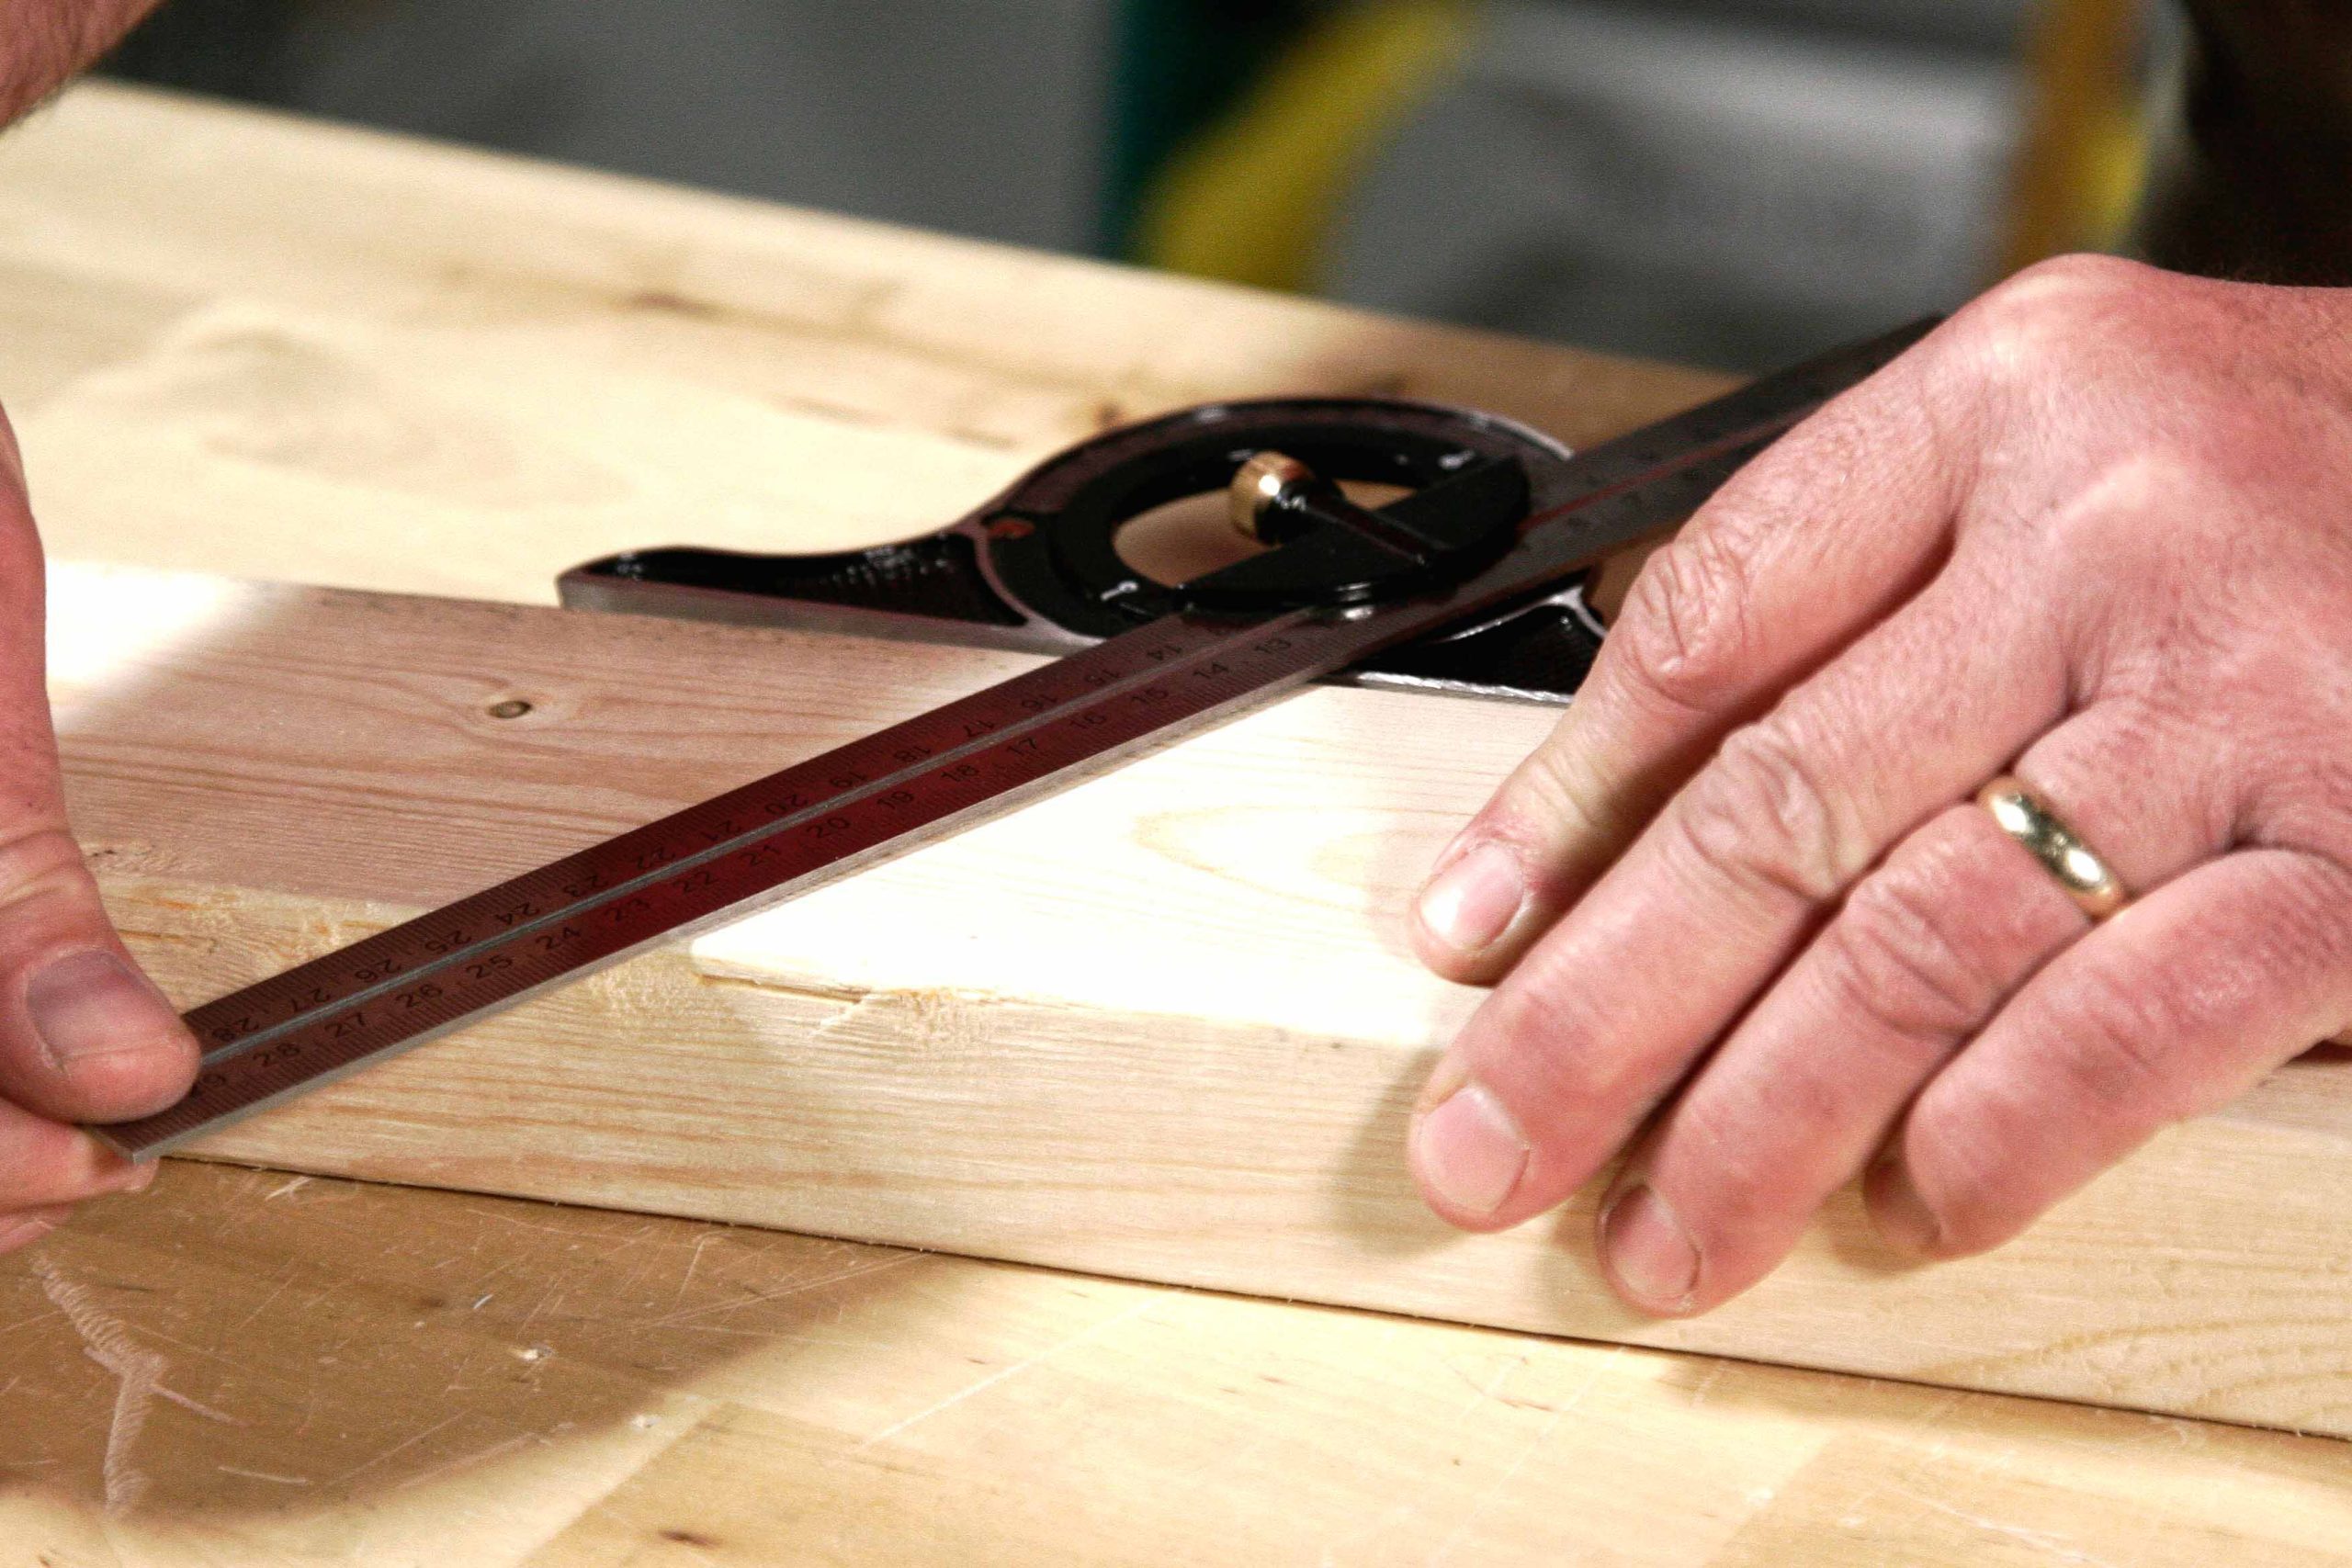
Step 5 90 Degree Angle Edge - Tip 5
You can even scribe a line parallel to the edge of a board.

Step 6 45 Degree Angle Edge
Flip the 90 degree angle edge around to set it for 45 degree angle markings.
Step 7 The Protractor - Tip 1
Use this for marking specific angles. After setting the angle, tighten the attachment down and you have a template for repeating the same mark or cut on several pieces. This makes it good for decking or molding projects.
Step 8 The Protractor - Tip 2
This attachment is useful for finding the center of a dowel or rod.

Step 9 The Protractor - Tip 3
Find the center of large circular objects by marking two crossing lines. The center will be at their intersection.
