Restore Your Christmas Lights in 4 Easy Steps
When your Christmas lights stop shining, you might find the solution to fixing them is as easy as replacing the fuses. This 4-step guide teaches you how to locate, remove, test, and replace the fuses in your light strand to make your home merry and bright once again.
How to replace Christmas light fuses
1 Find the Fuses
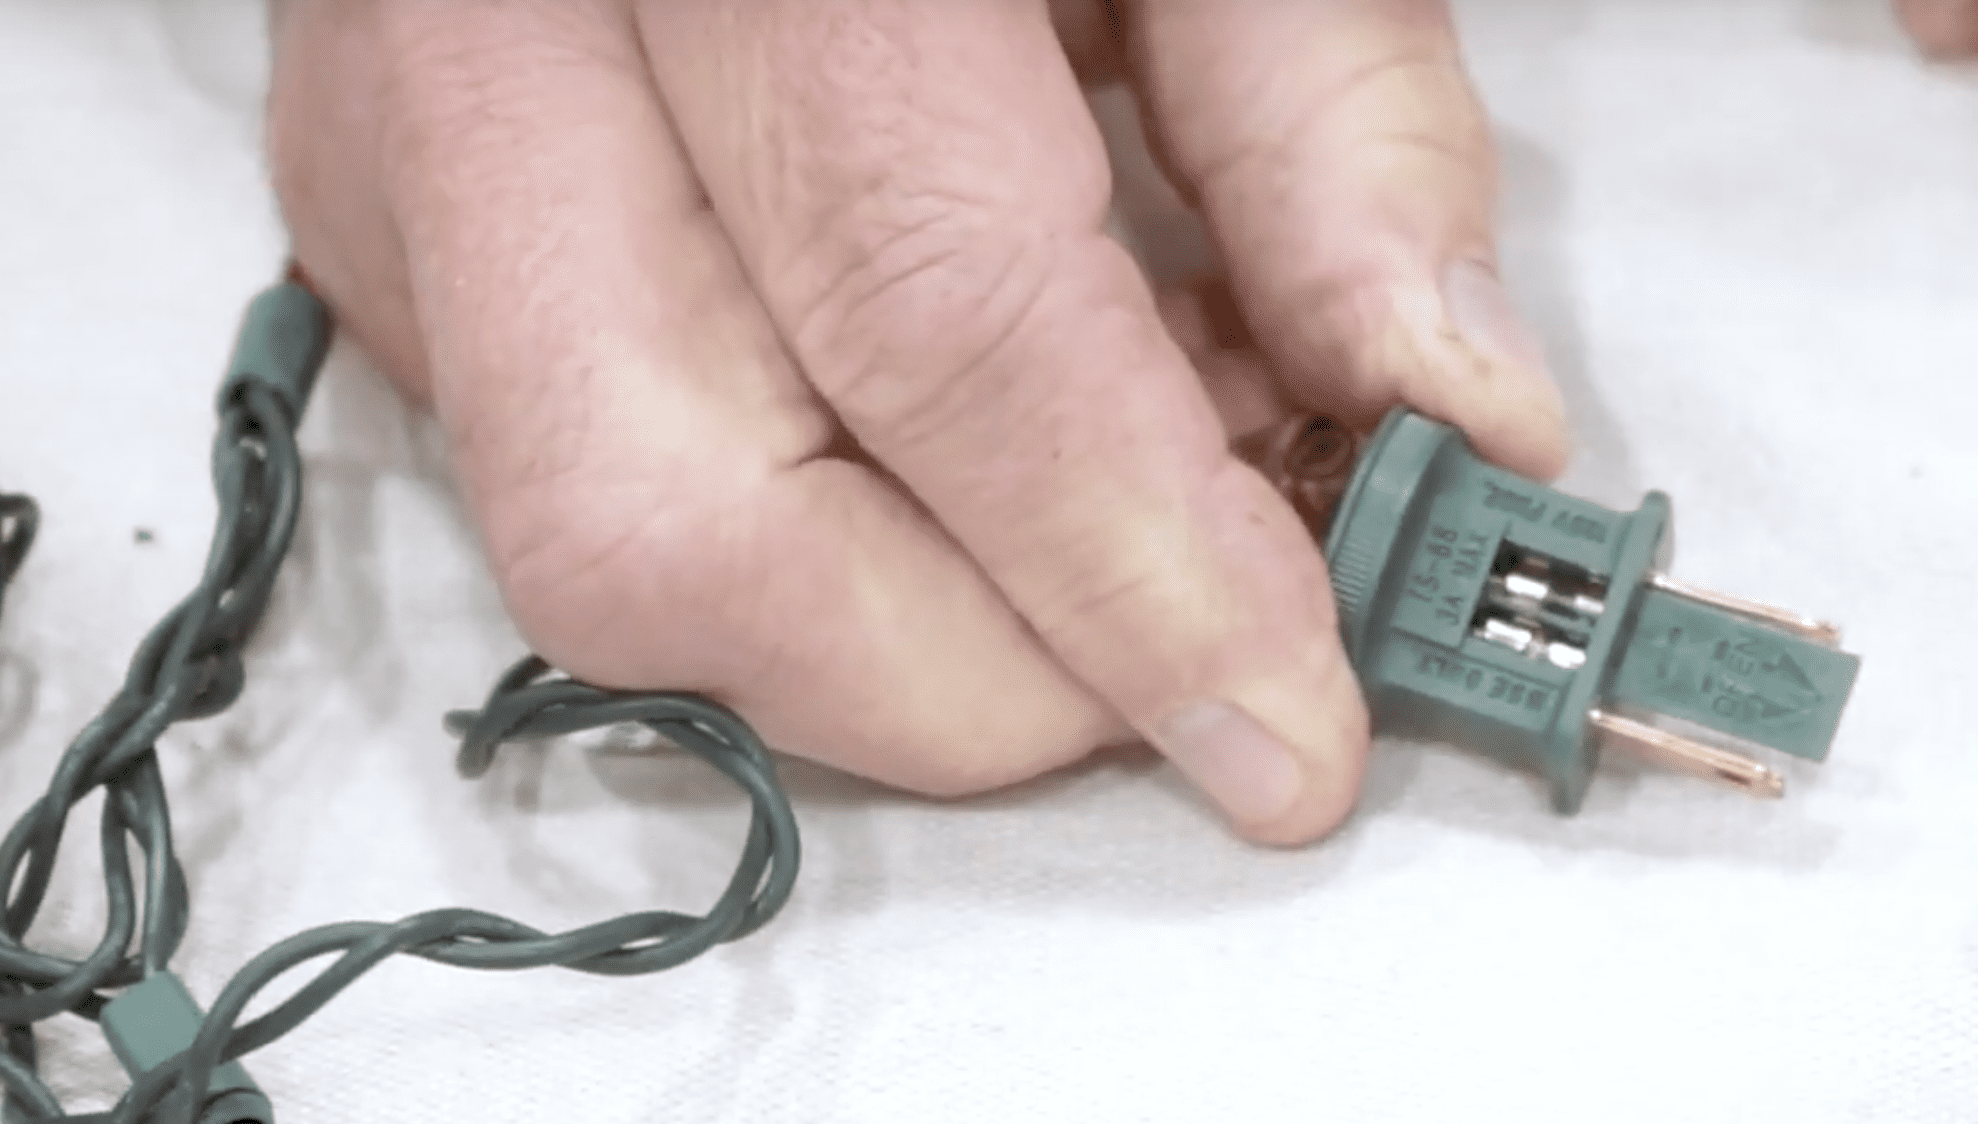
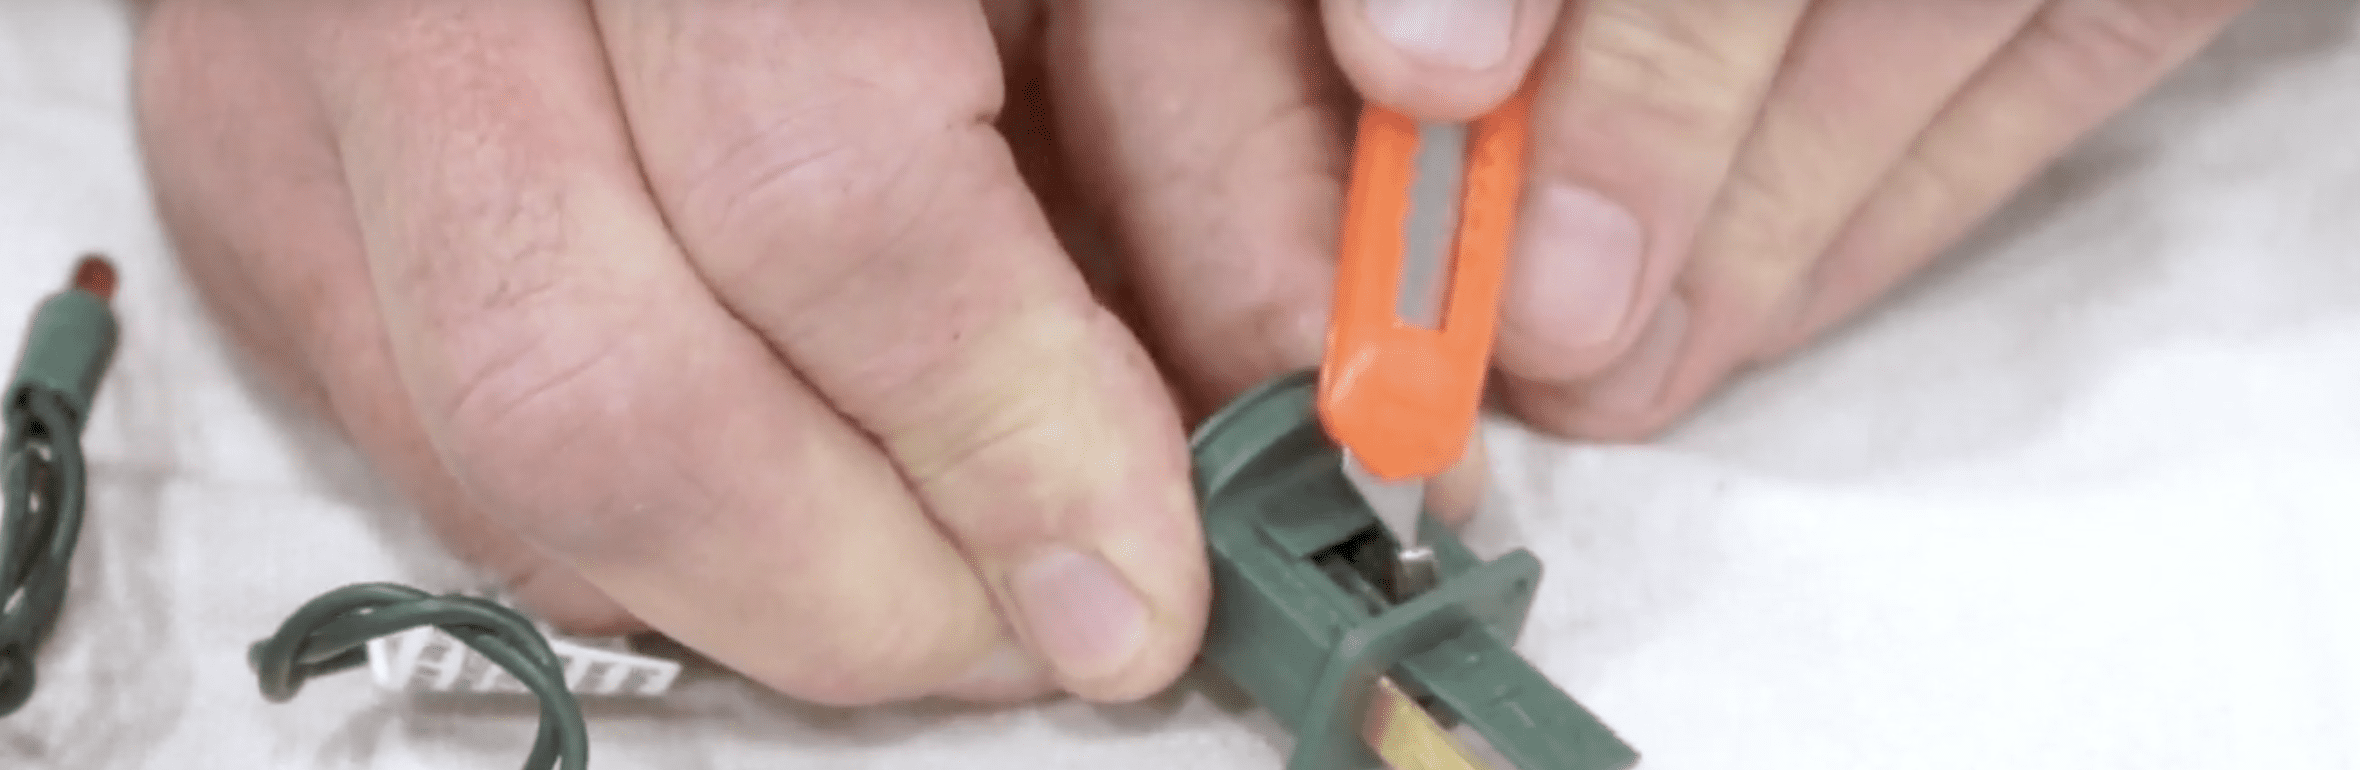
First, unplug the light strand from the outlet and locate the fuses in the plug (there should be two fuses). You’ll see a little door on the plug that says “Open.” Use a utility knife or screwdriver to open the door and expose the fuses.
PRO TIP FROM ACE
2 Remove the Fuses
With your utility knife or screwdriver, pry the fuses out of the plug. These fuses are small glass capsules that fit in tight, so be careful getting them out.
3 Test the Fuses
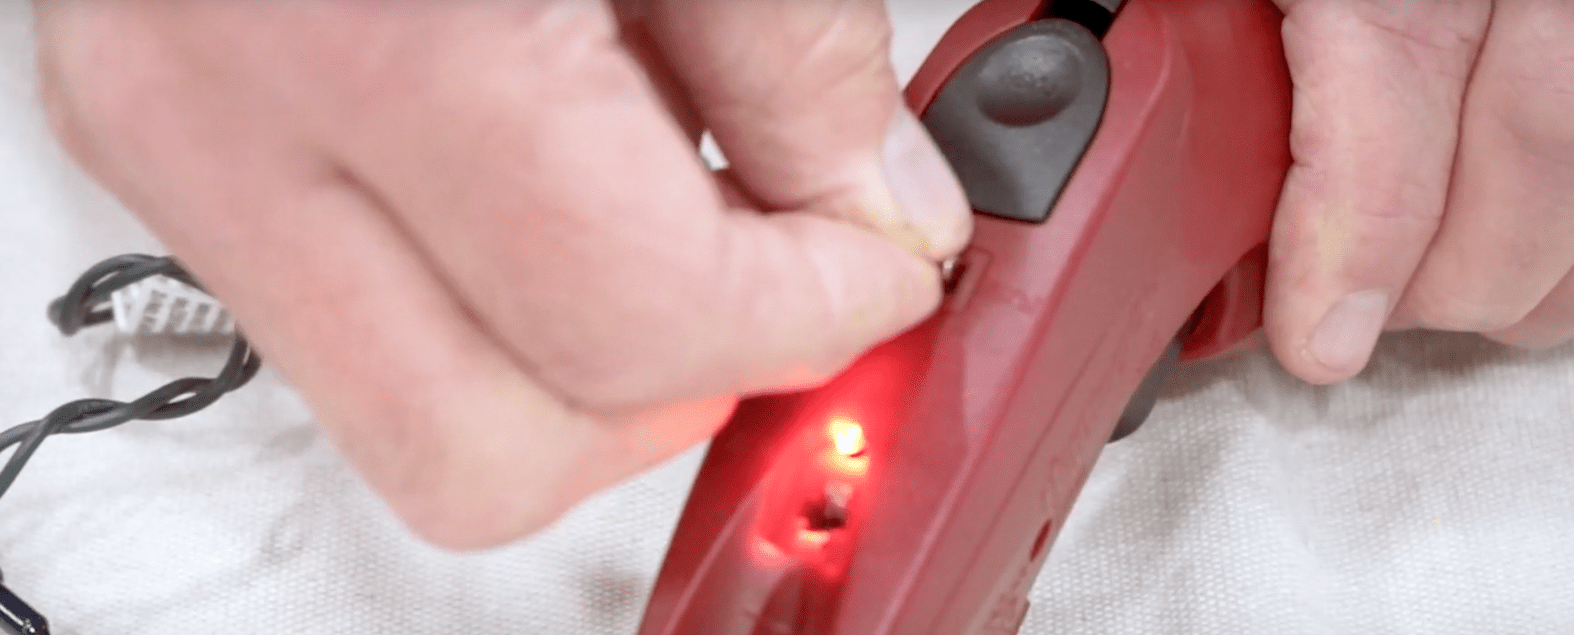
Before replacing the fuses, you should confirm they are the source of the problem. Do this by checking if the center of the fuses are still together.
PRO TIP FROM ACE
4 Replace the Fuses
Once you’ve confirmed the fuses need replacing, make sure to change them both out by pushing the replacement fuses into place with a utility knife or screwdriver. Take care not to break the new fuses when putting them in.