Step 1 Clean Piece
Wipe down your piece with a degreaser and a damp rag to be sure it is clean and clear of any dust or dirt.
Step 2 Rinse Piece
Rinse piece with water to remove any residue. Let it dry.
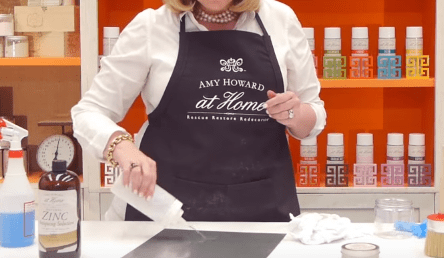
Step 3 Shake Solution
Shake the bottle vigorously.
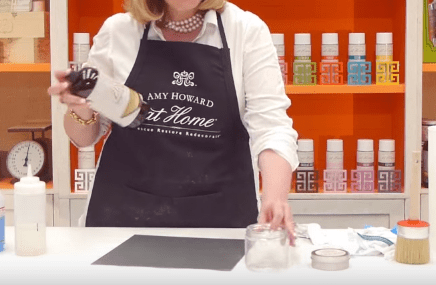
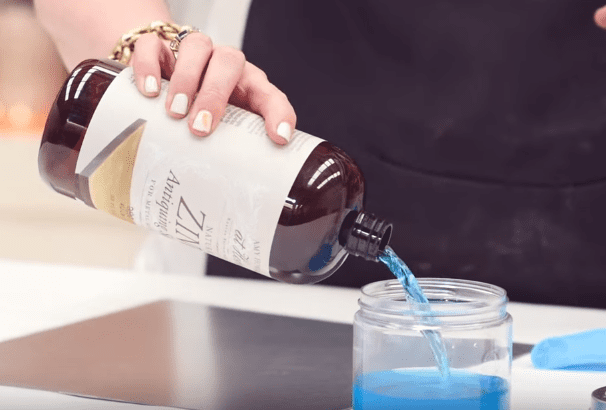
Step 4 Pour Solution
Pour the solution into a durable container.
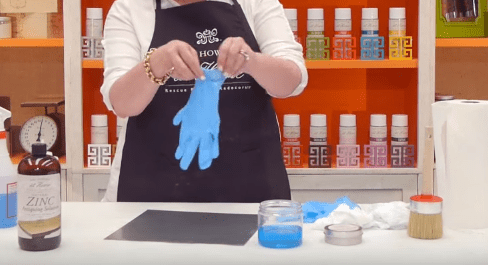
Step 5 Protect Skin and Eyes
Put on gloves to protect your hands and safety glasses in case of splatters.
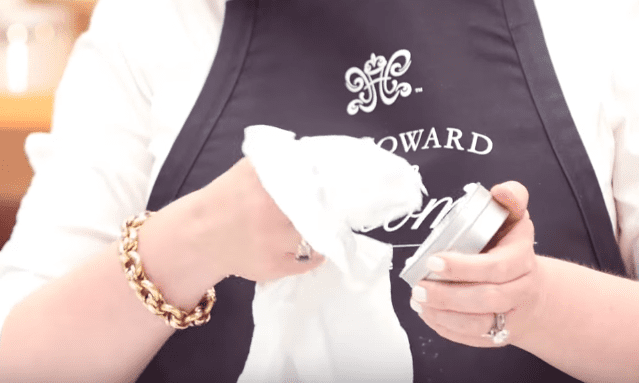
Step 6 Dip Rag
Dip the cotton rag into the solution. Do not over saturate your rag in the solution.
Step 7 Dab Metal
Use your rag to lightly dab the metal. Dab and dot your rag in an organic composition over the entire surface. Do not neglect the edges of your pieces. The piece should be thoroughly saturated in the Zinc Solution.
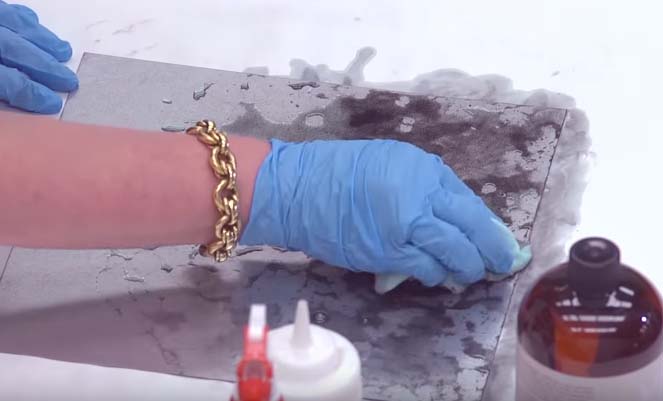
Step 8 Rub and Pull Zinc Solution
Zinc will begin to immediately separate on the metal. Use your cotton rag to rub in a circular motion. This pulls the zinc solution to assist the oxidation process.
Step 9 Dab with Rag
Randomly dab and dot with your cotton rag.
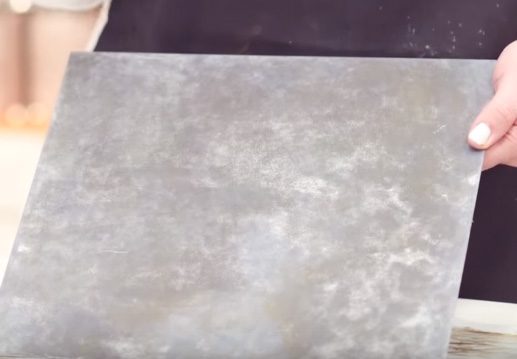
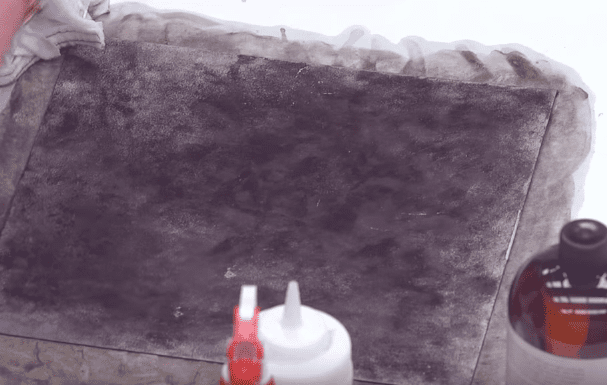
Step 10 Solution Changes Colors
Once the oxidation process has begun, the piece of metal with the solution on top will begin to change colors. The more Zinc Solution used, the darker the result. Continue to apply the Zinc Solution until desired color has been achieved.
Step 11 Let it Dry
Allow your piece to lie flat and dry for 30-45 minutes to dry. Zinc Solution will dry into a lighter, more chalky finish.

Step 12 Helpful Tip
If you’re using this for a counter top, vanity or top of any piece of furniture, be sure and seal it with wax. But if you want a more chalky, blue green finish, do not seal it.
Step 13 Enjoy the Bragging Right
Take a moment, take a step back and enjoy your work of art.