About Storage & Organization
With shelves, storage products and organizational supplies, you can quickly and neatly declutter any space in your home or garage. Find storage shelves to fit your exact needs at Ace. Browse our full selection of storage units to find a solution for each room in your home.
Shelving Units for Home and Garage
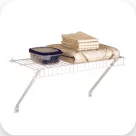
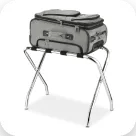
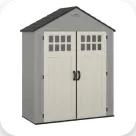
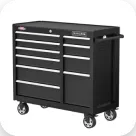
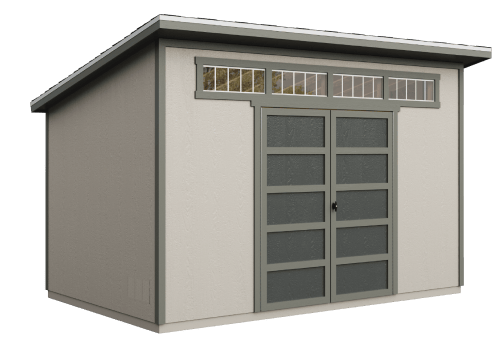
Garages, basements and workshops can quickly get crowded with tools, off-season items and anything else you throw in them. To make efficient use of these essential spaces, design a custom storage solution to suit your needs. We offer free-standing shelving units, mountable and adjustable shelves, and sturdy footlockers, storage cabinets and floor racks for you to choose from.
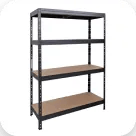
Mix and match items to make the most of any storage space while ensuring your most important items are easy to grab. Heavy-duty metal-framed storage shelves can support up to 1,000 pounds so you can store your heaviest items safely. For small parts and lightweight belongings, look for plastic storage shelves in an array of heights, widths and depths.
Other Top Products to Keep You Organized
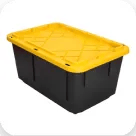
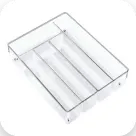
With storage essentials from Ace, you can organize every area in your home. Look for closet organization products, including adjustable closet rods, hangers and shoe compartments, to keep every item neatly tucked away when not in use. Shop totes, bins and baskets for your everyday essentials. With our collection of organizational supplies, you can keep closets, bedrooms, living rooms, offices and other spaces free of distracting, irritating clutter.
Organization matters. That's why we carry heavy-duty shelving for garages and durable, lightweight storage products for closets and interior spaces. Head to your local Ace or shop online today to see our top-rated storage solutions.